Let me start off by saying I had laid out all my pattern papers, and card stock before I had started this card. Not being used to this style of card, I later had to make adjustments.

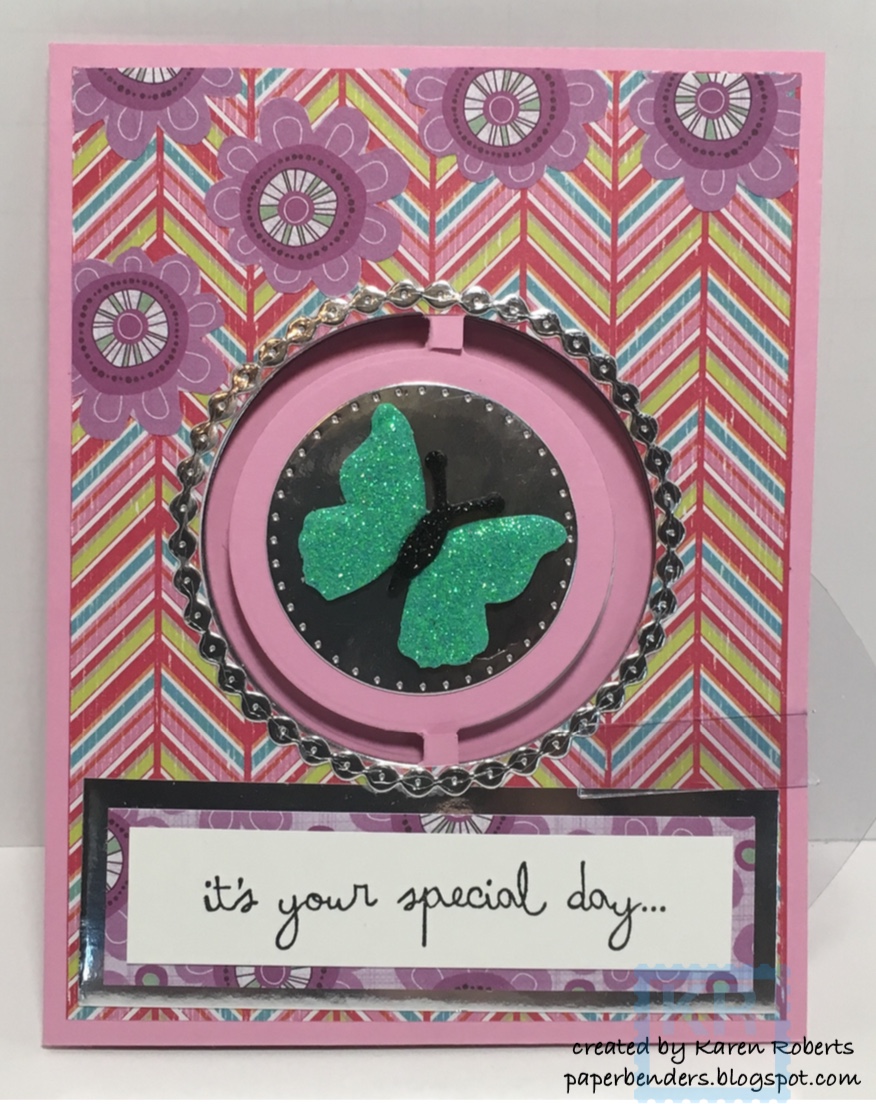
I fell in love with this sweet floral print! It was slightly retro in feel and I knew it would be perfect for my Niece's birthday card!
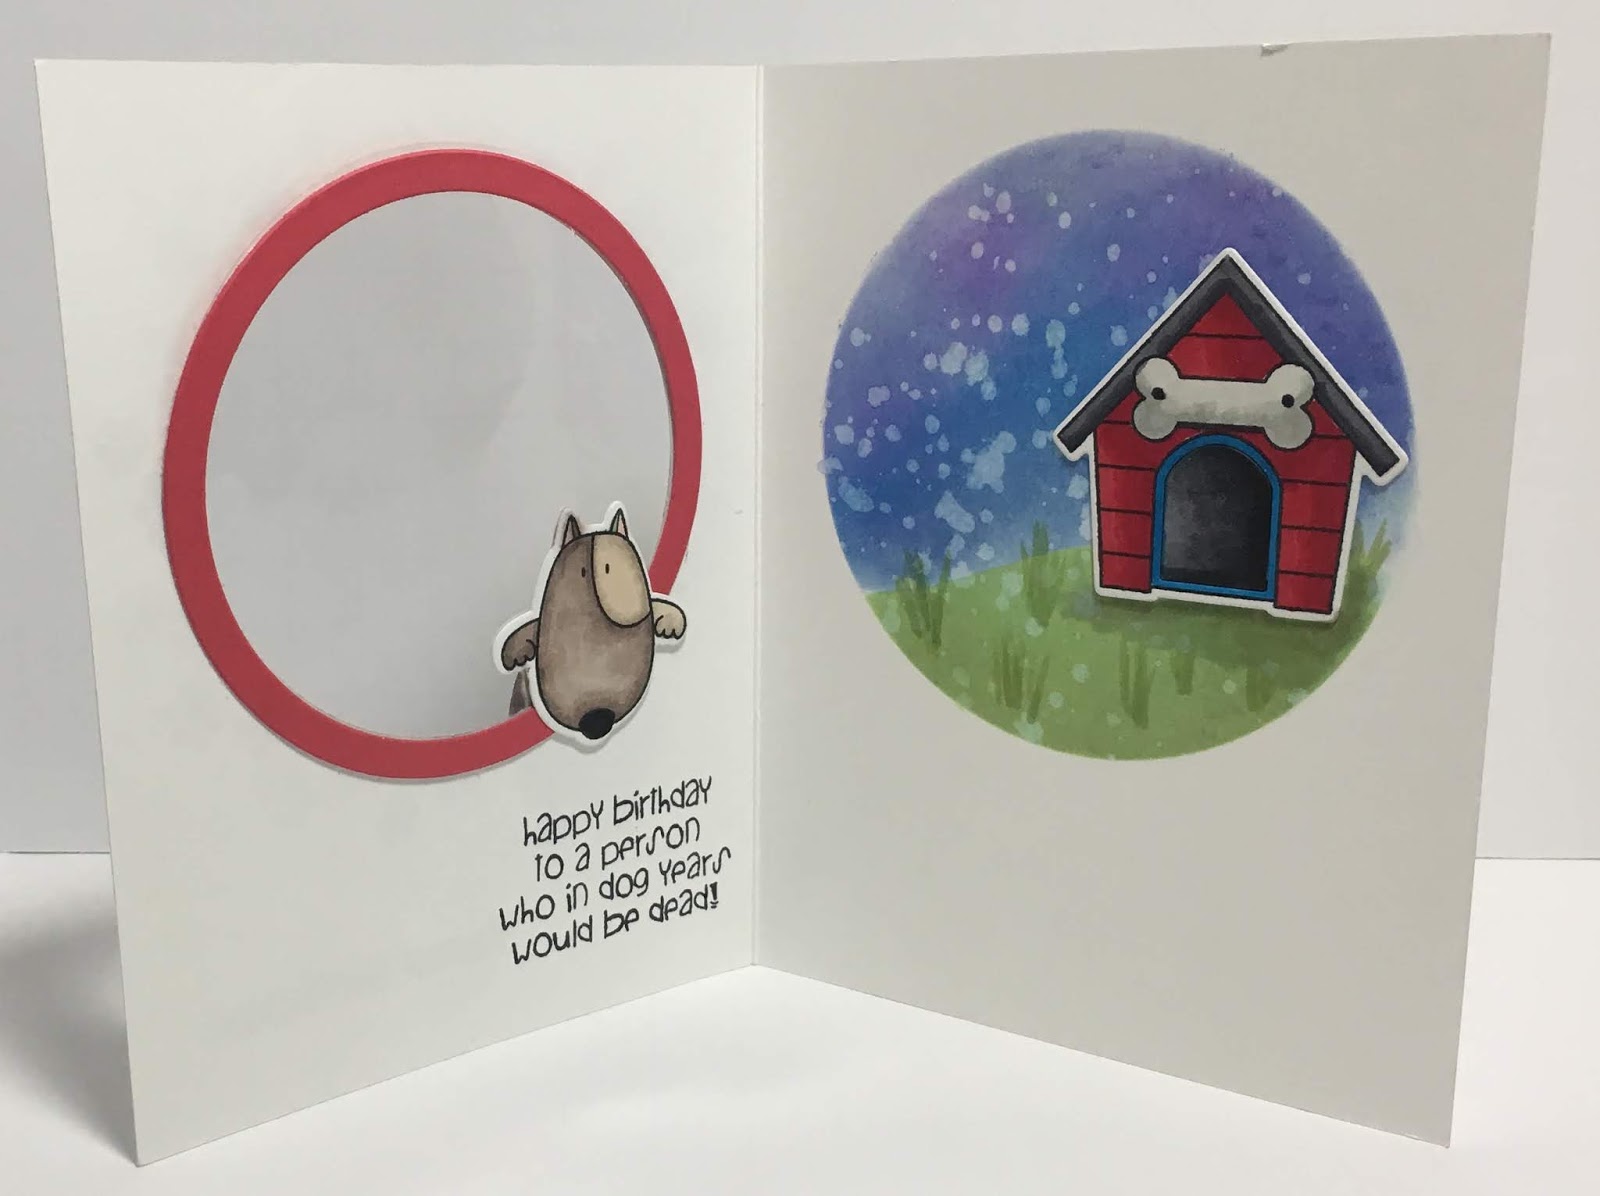
This style of card actually builds best if you do the inside first, but keep in mind, what ever you put on the first circle will be on the front of the card.
It starts with a 4 1/4" x 5 1/4" card base. I used pattern paper for the front and insides cut slightly smaller as to show a border. I only adhered the pattern paper around the edges on the front, and inside left panel. BEFORE DIE CUTTING!
This was so I could remove the paper off the circle portion of the card after I die cut the pop-up. I added the decorative circle frames BEFORE I adhered the circles together.
The butterflies are cut from glittery fun foam. I cut one black, one green, and two from black card stock. I cut the butterflies apart, then I paper-pieced them back together using all fun foam on the front one.
The center butterfly is made up of card stock with a fun foam center. I sandwiched the two black card stock butterflies with a clear acetate strip between them so I could suspend the "charm" in the second circle.
Note: if you use this product, do not run the entire sheet thru the BigShot. It is self adhesive on the back, and it distorted the rest of the sheet after passing thru the BigShot. I'd recommend cutting off a piece, slightly larger than the die you are using, that way the rest of the sheet is still left in good order.
The sentiment is stamped with distress oxide ink then heat embossed with clear embossing powder.
After getting the card all assembled, I loved the inside. The outside? Different story! The pattern paper didn't really look like it matched anymore! UGH! I know we've all experienced this before! I didn't have enough paper left over to re-cover it! I decided to try putting a sentiment on the front using a bit of the pattern paper form the inside.
That only kind of worked. So then I fussy cut the flowers from some scrap of the inside paper, and glued them on. Whew! I'm glad it worked! I did not have enough metallic silver left to re-do the front either!
Another Note: As I mentioned, I was running short on the silver paper, and after building the inside, didn't have enough left to cut a circle frame for the front.....Yes, poor planning! So instead, I used the braided circle from the Snowman Twist Circle pop up. I was able to "piece together" the circle edging, and you can't even tell!
I love how interactive these die sets from Karen Burniston are! They all play well together. If you only invested in these sets alone, you would have enough dies to make almost anything! Especially if you mix in stamps for different themes!
Hope you all learned something from all my boo boos! I know I did!
Happy Crafting!
ttfn: Karen